September 19, 2019
Tips and tricks for Flat Lays
Geez! It was about time I started to blog! I made blogging my 2017 business goal and here we are, the end of 2019. 😉 Better late than never right? I mean better when it’s the right time for you than to do a half butt job, jeje. This week I did some “market research” ( fancy word for: I insta storied and asked you guys questions”) and I was soooo amazed at all the responses I got, sounds like I’m an influencer, definitely not LOL , but in reality I didn’t know how many people truly cared and took the time to answer. So thank you to everyone who answered, it truly gave me a boost and inspired me to be a better business owner.
A lot of you asked for BTS or “how – to” blogs…so today, I wanted to share some tips and tricks into making an easy flat lay, AND I’ve linked everything I find useful for you in the text 🙂
Disclaimer: There is no right or wrong way, and I tend to do things on a whim when I’m inspired and with whatever I have laying around, we do have a great camera and lens, but an iphone will do 🙂 Ghetto or not, here we come!
all products are linked in throughout*
Lets talk about about Backgrounds!
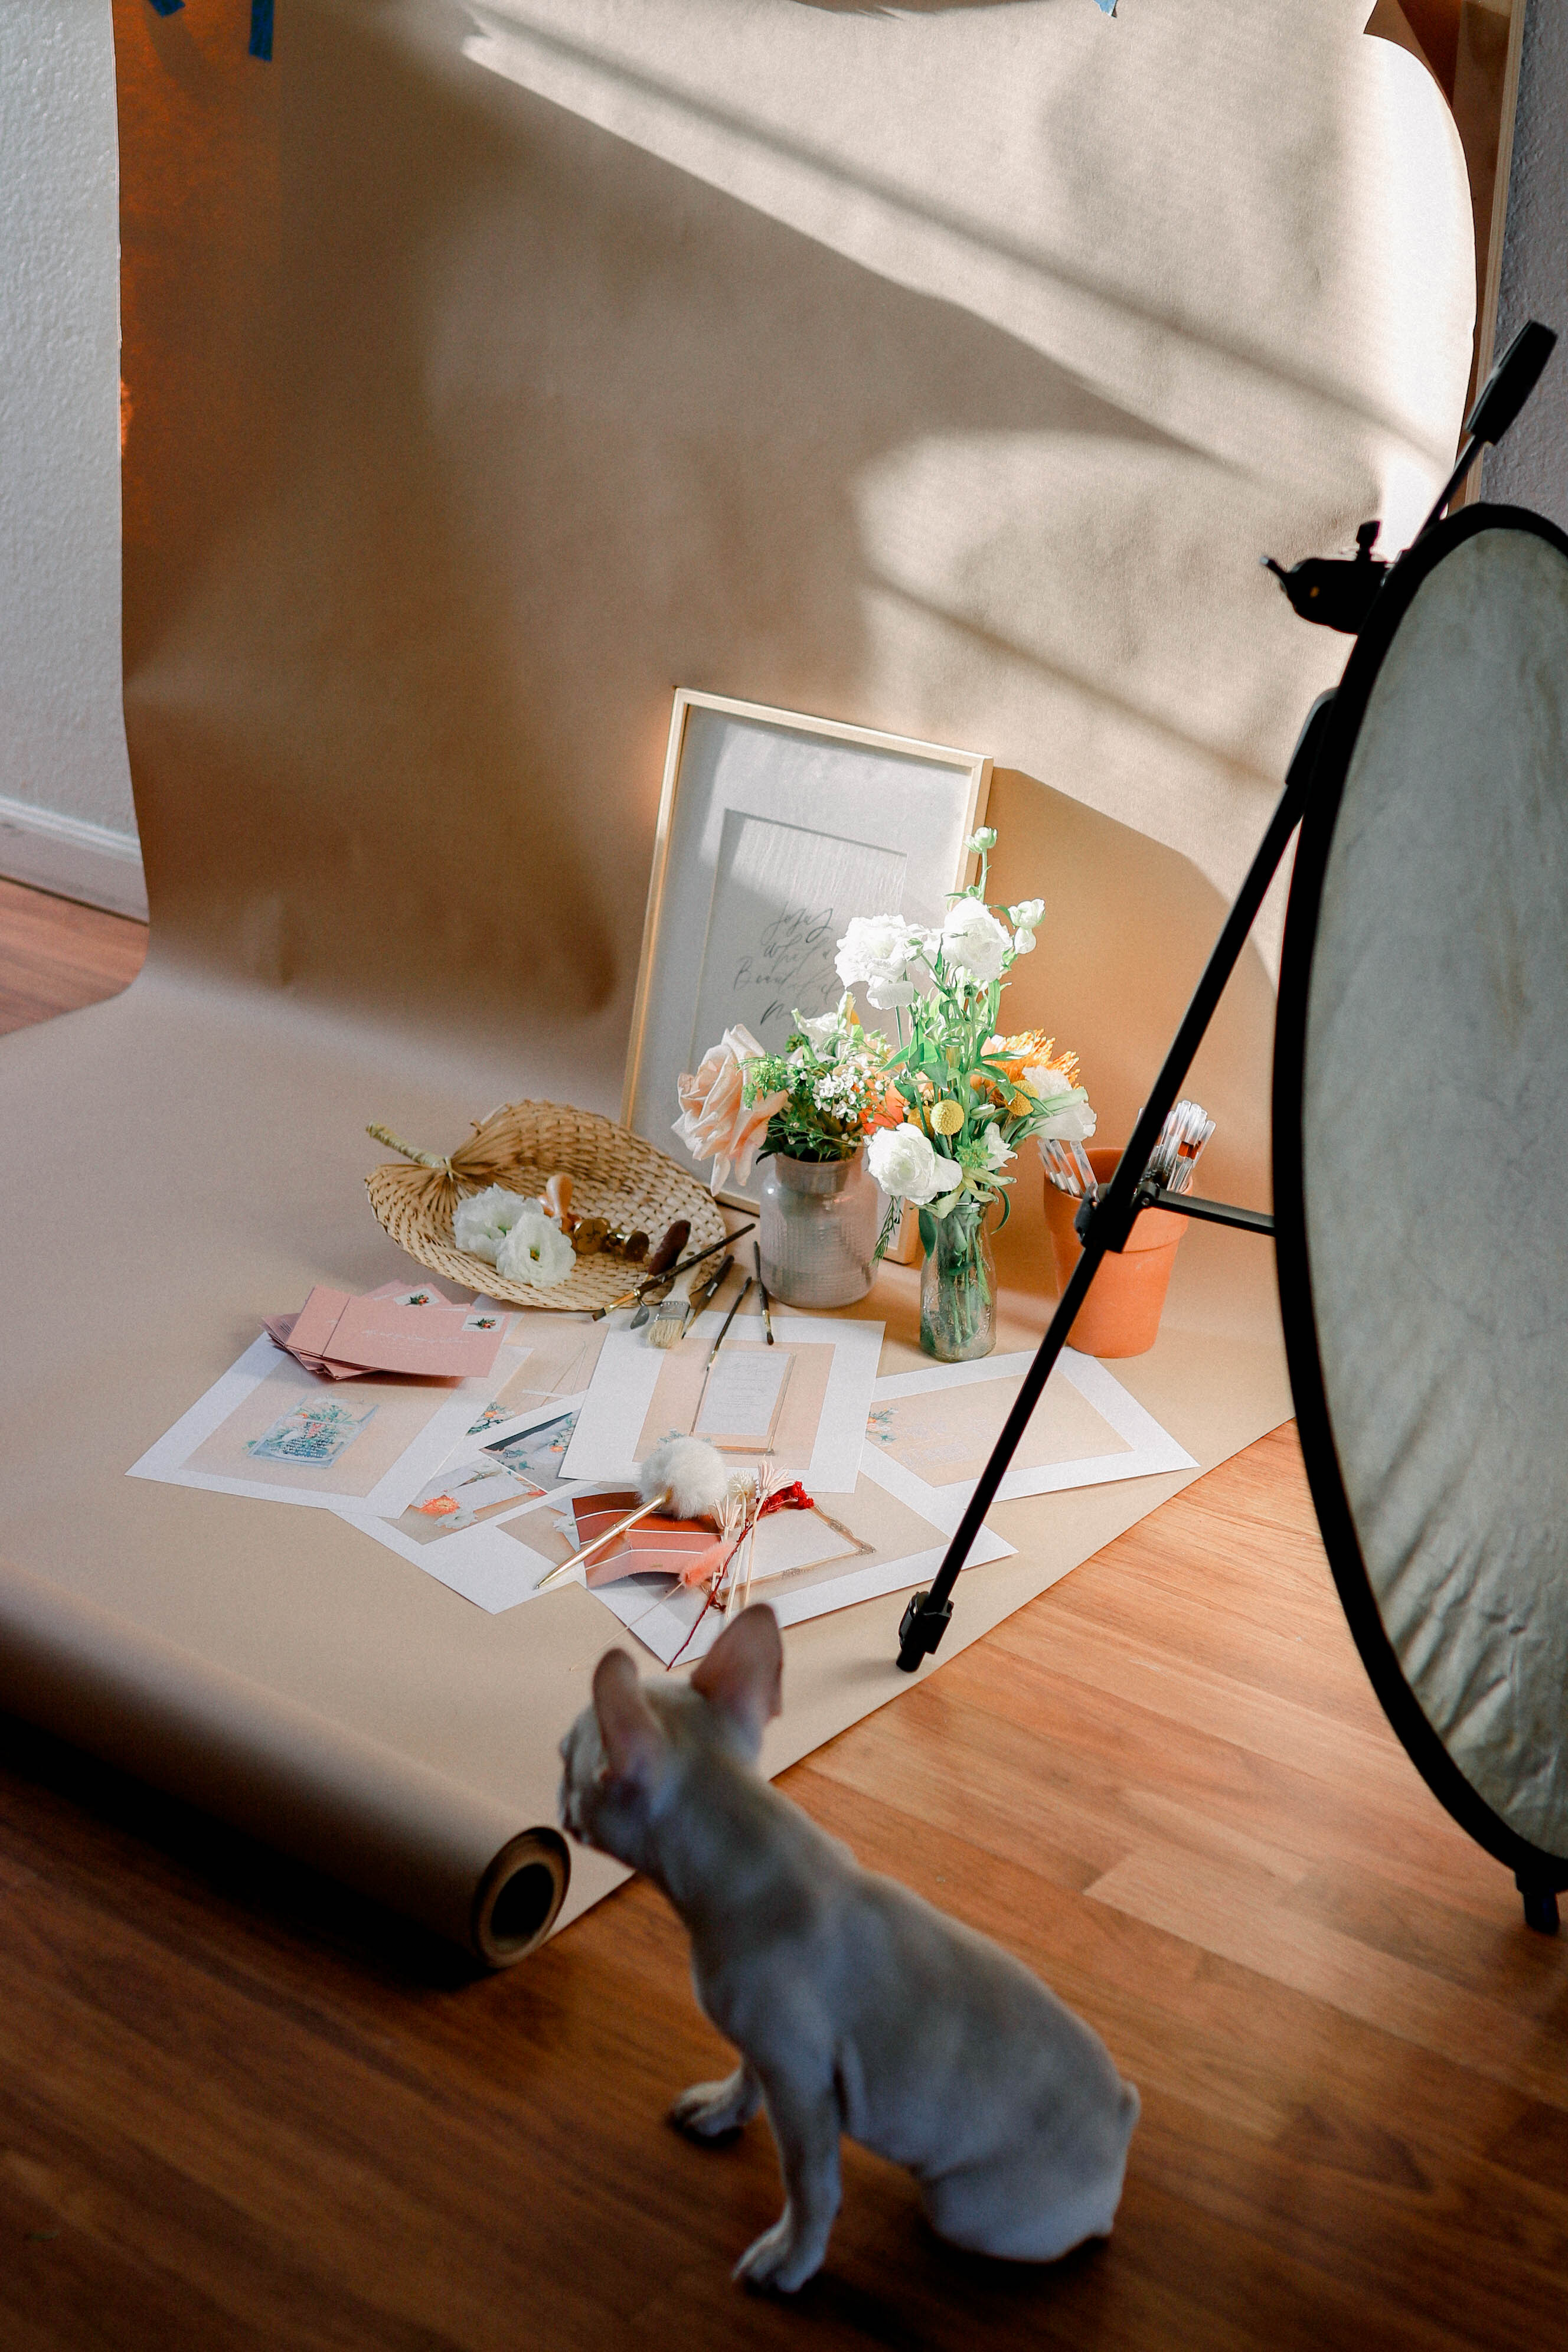
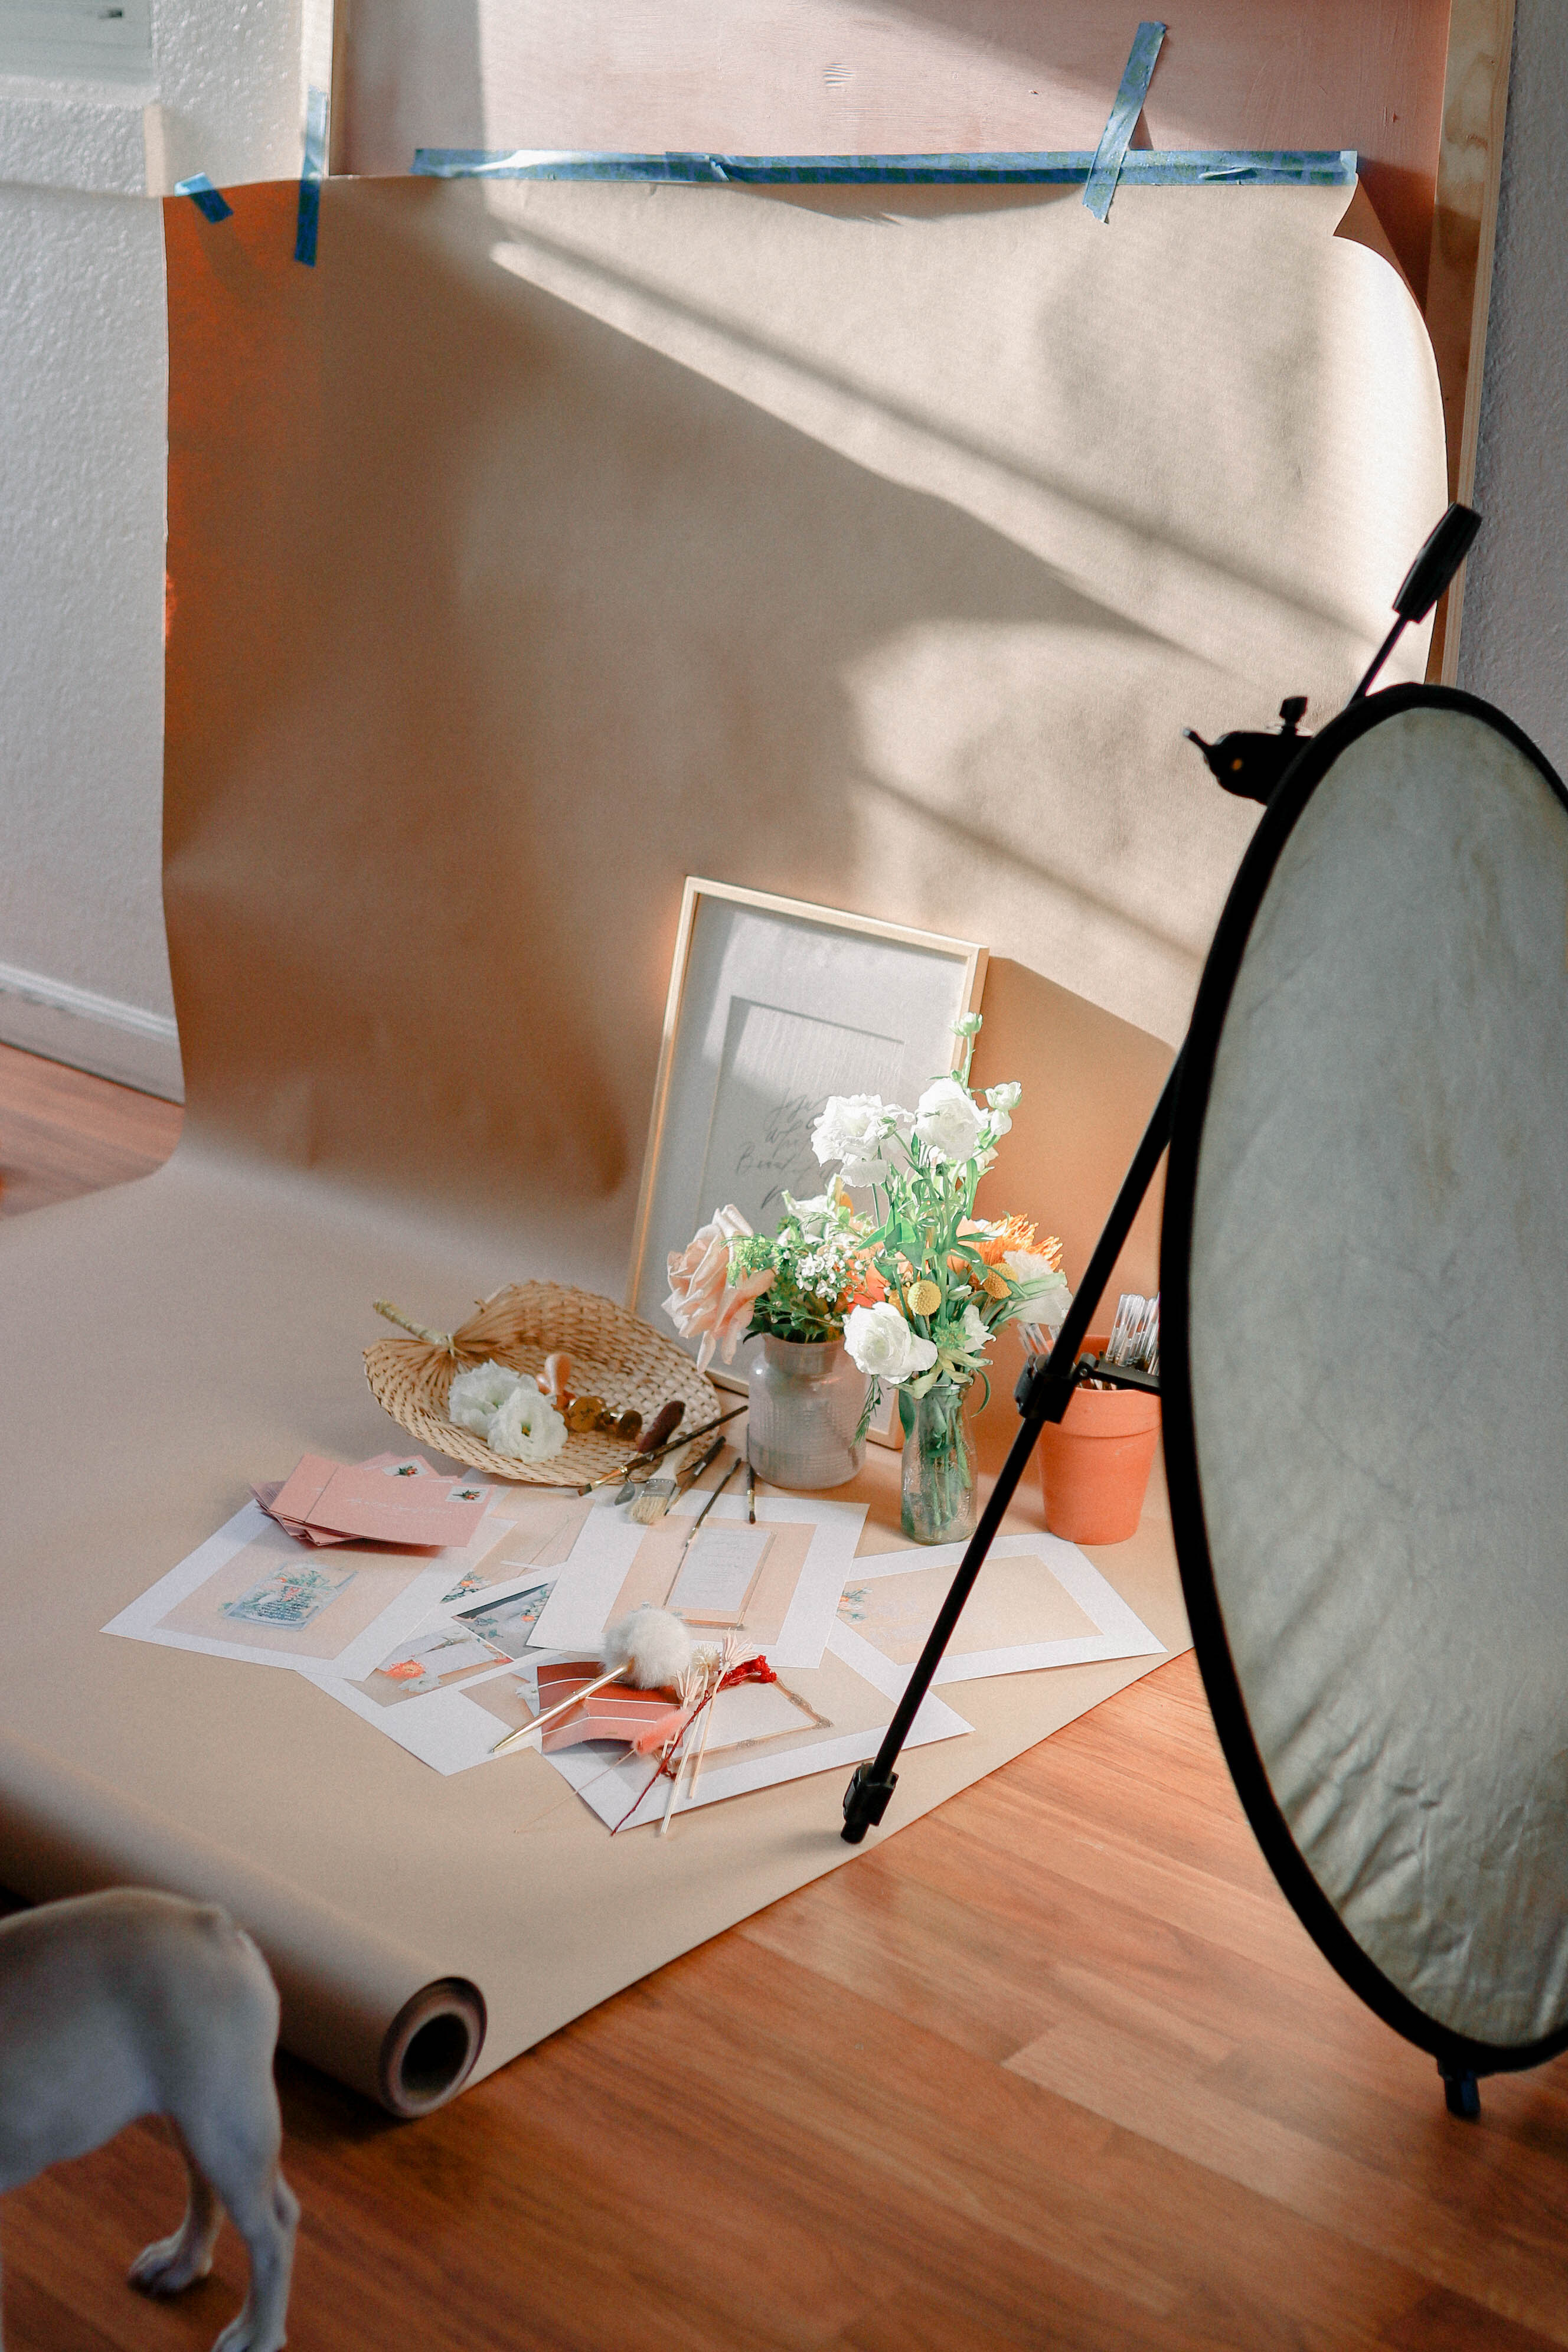
Usually, I would just use my white desk, or a piece of wood I added some texture to (tutorial coming soon). But for this example, I wanted to show you how awesome these rolls of paper are! They are definitely a more minimalist approach to flat lays since the wall and the floor are the same, but I fell in love! There’s all different colors out there that could be useful for your brand or business, or even just your fave, but seriously a great find!
We had a brand shoot scheduled for this weekend…and Amazon did fail me when it didnt arrive on time..since these rolls are so long ( I ordered a 107″, which is way too long) they take a bit longer to ship than prime. So please plan accordingly! I ended up going to a local photo store and grabbing this one 🙂
Also, I know there are roll wall mounts, but for now, tape will work 😉
Assembling your products
For this shoot I had, I wanted to showcase our rental pieces which will be placed in a catalog soon 🙂 I was lucky to still have flowers laying around, but if not,
DO NOT FEAR!
dead flowers come in handy too 😉 I usually let my flowers die and keep them around for a bit, you never know when you’ll use the dry petals.
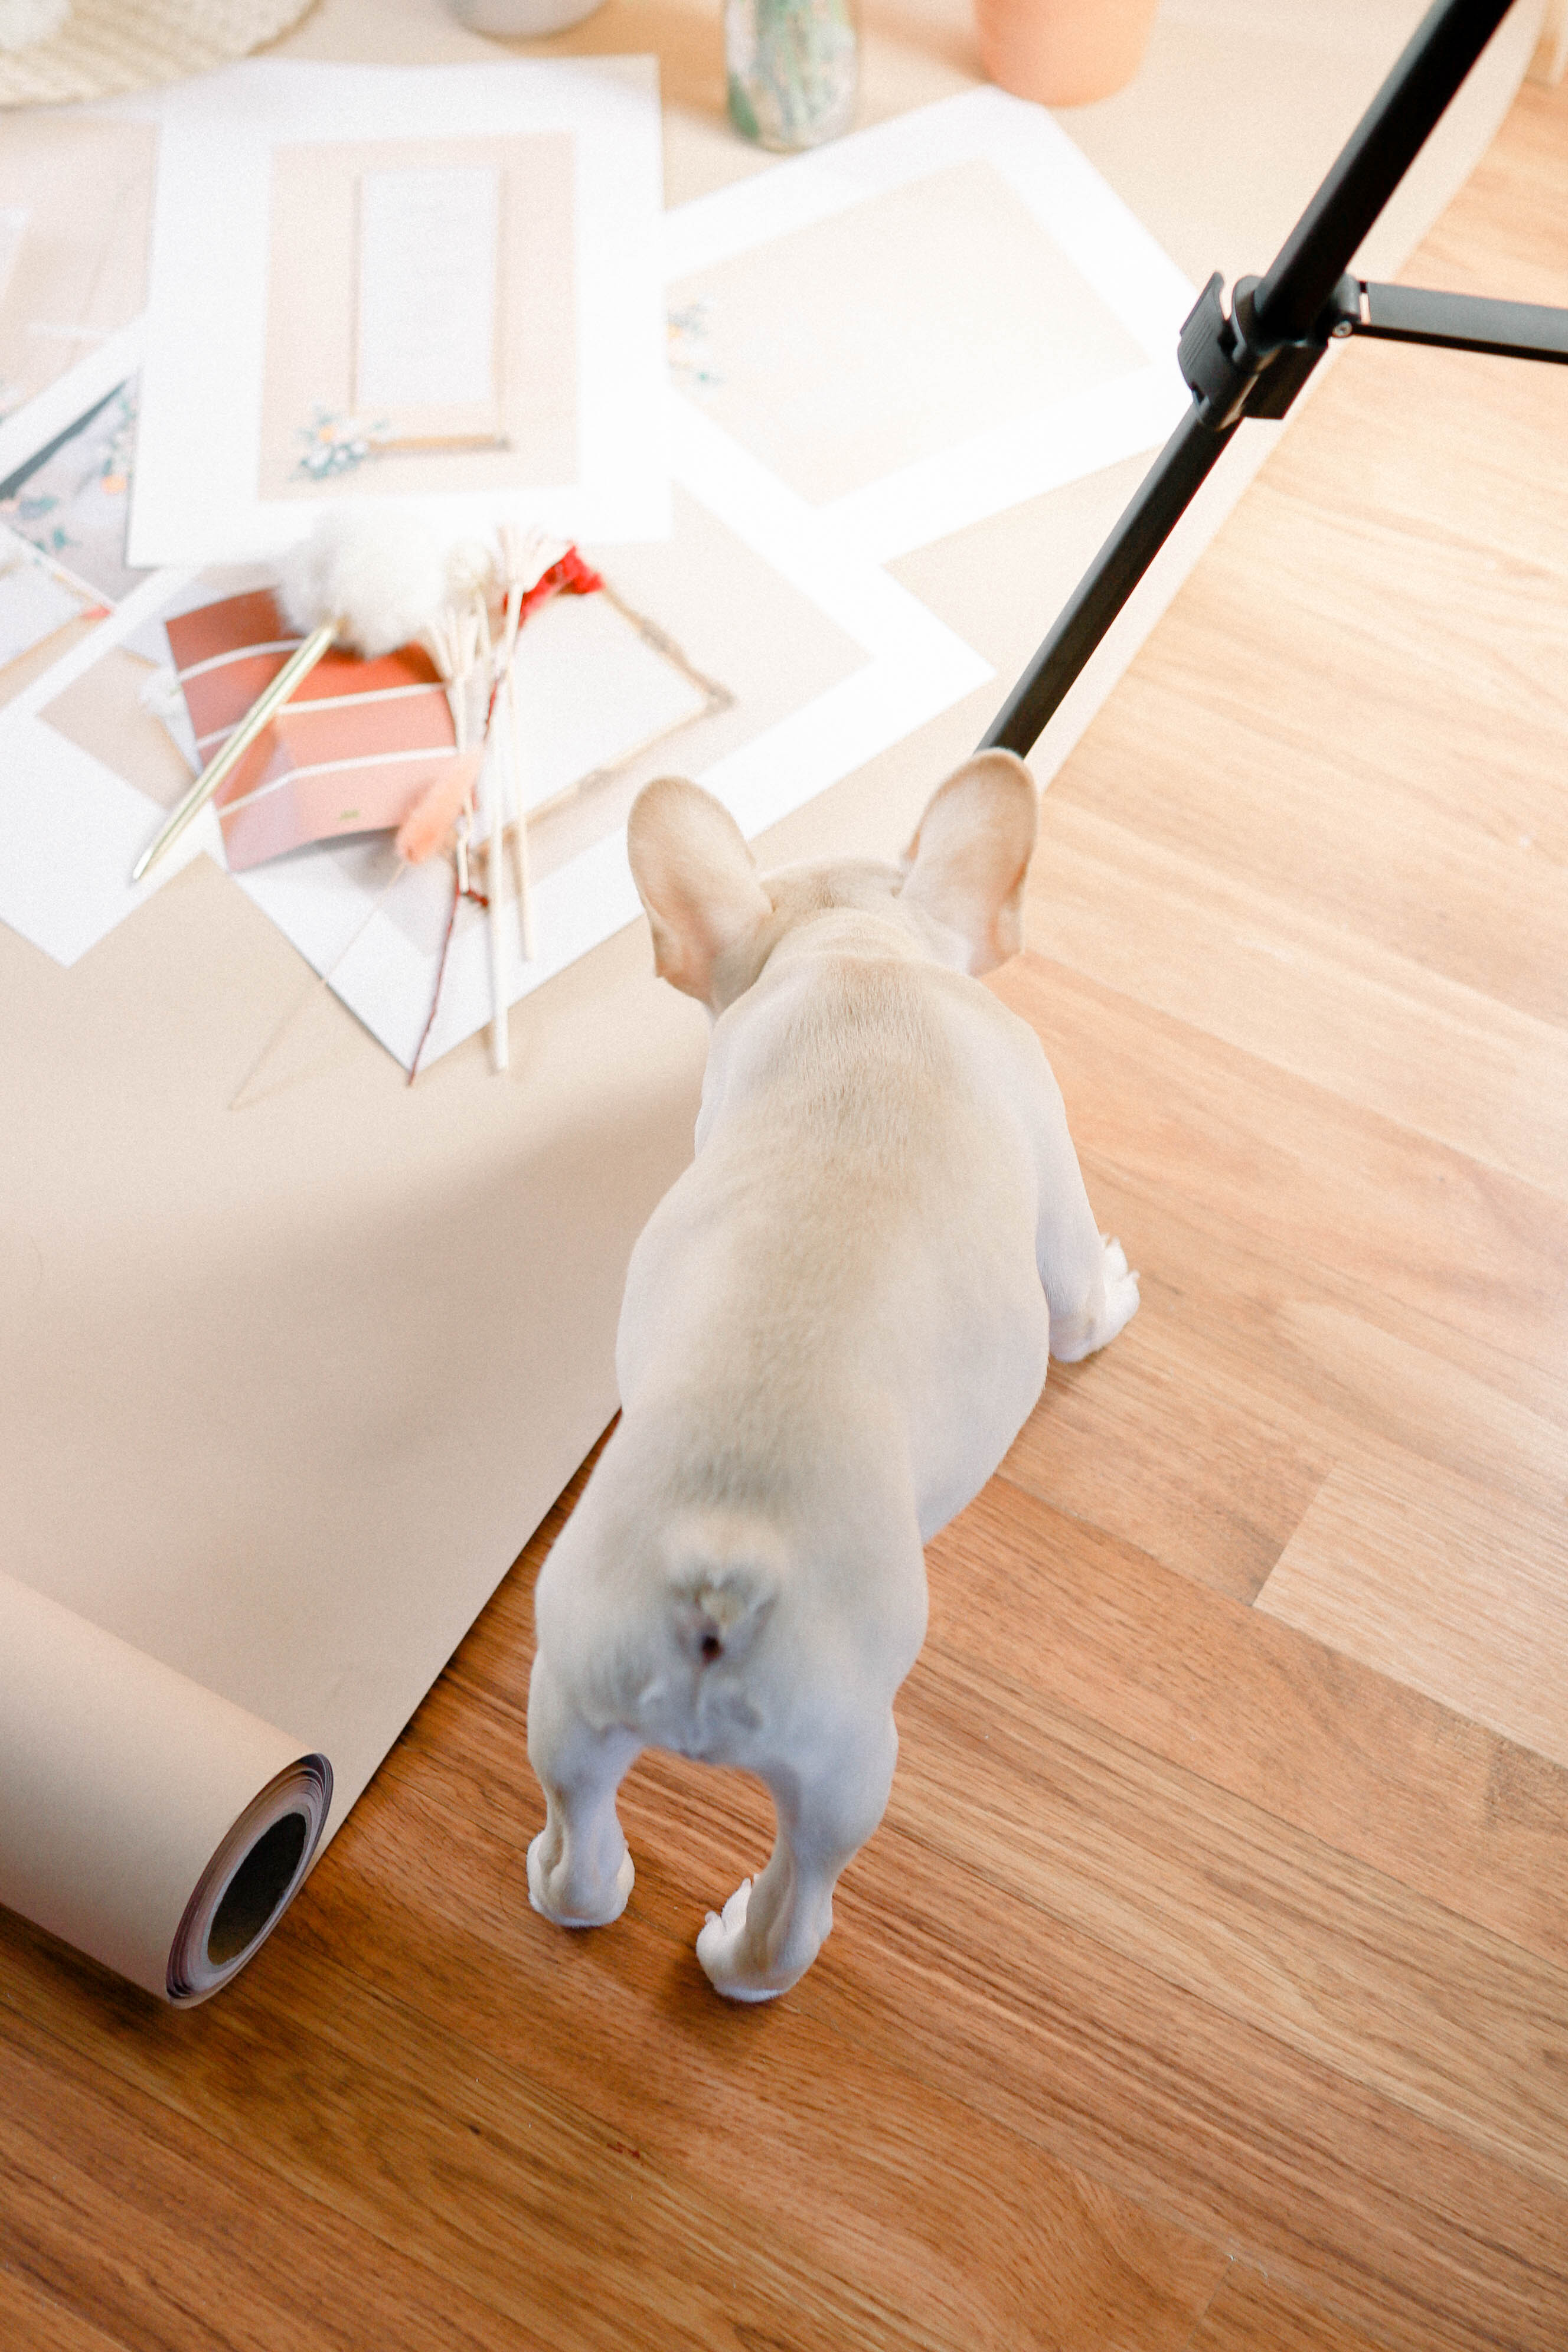
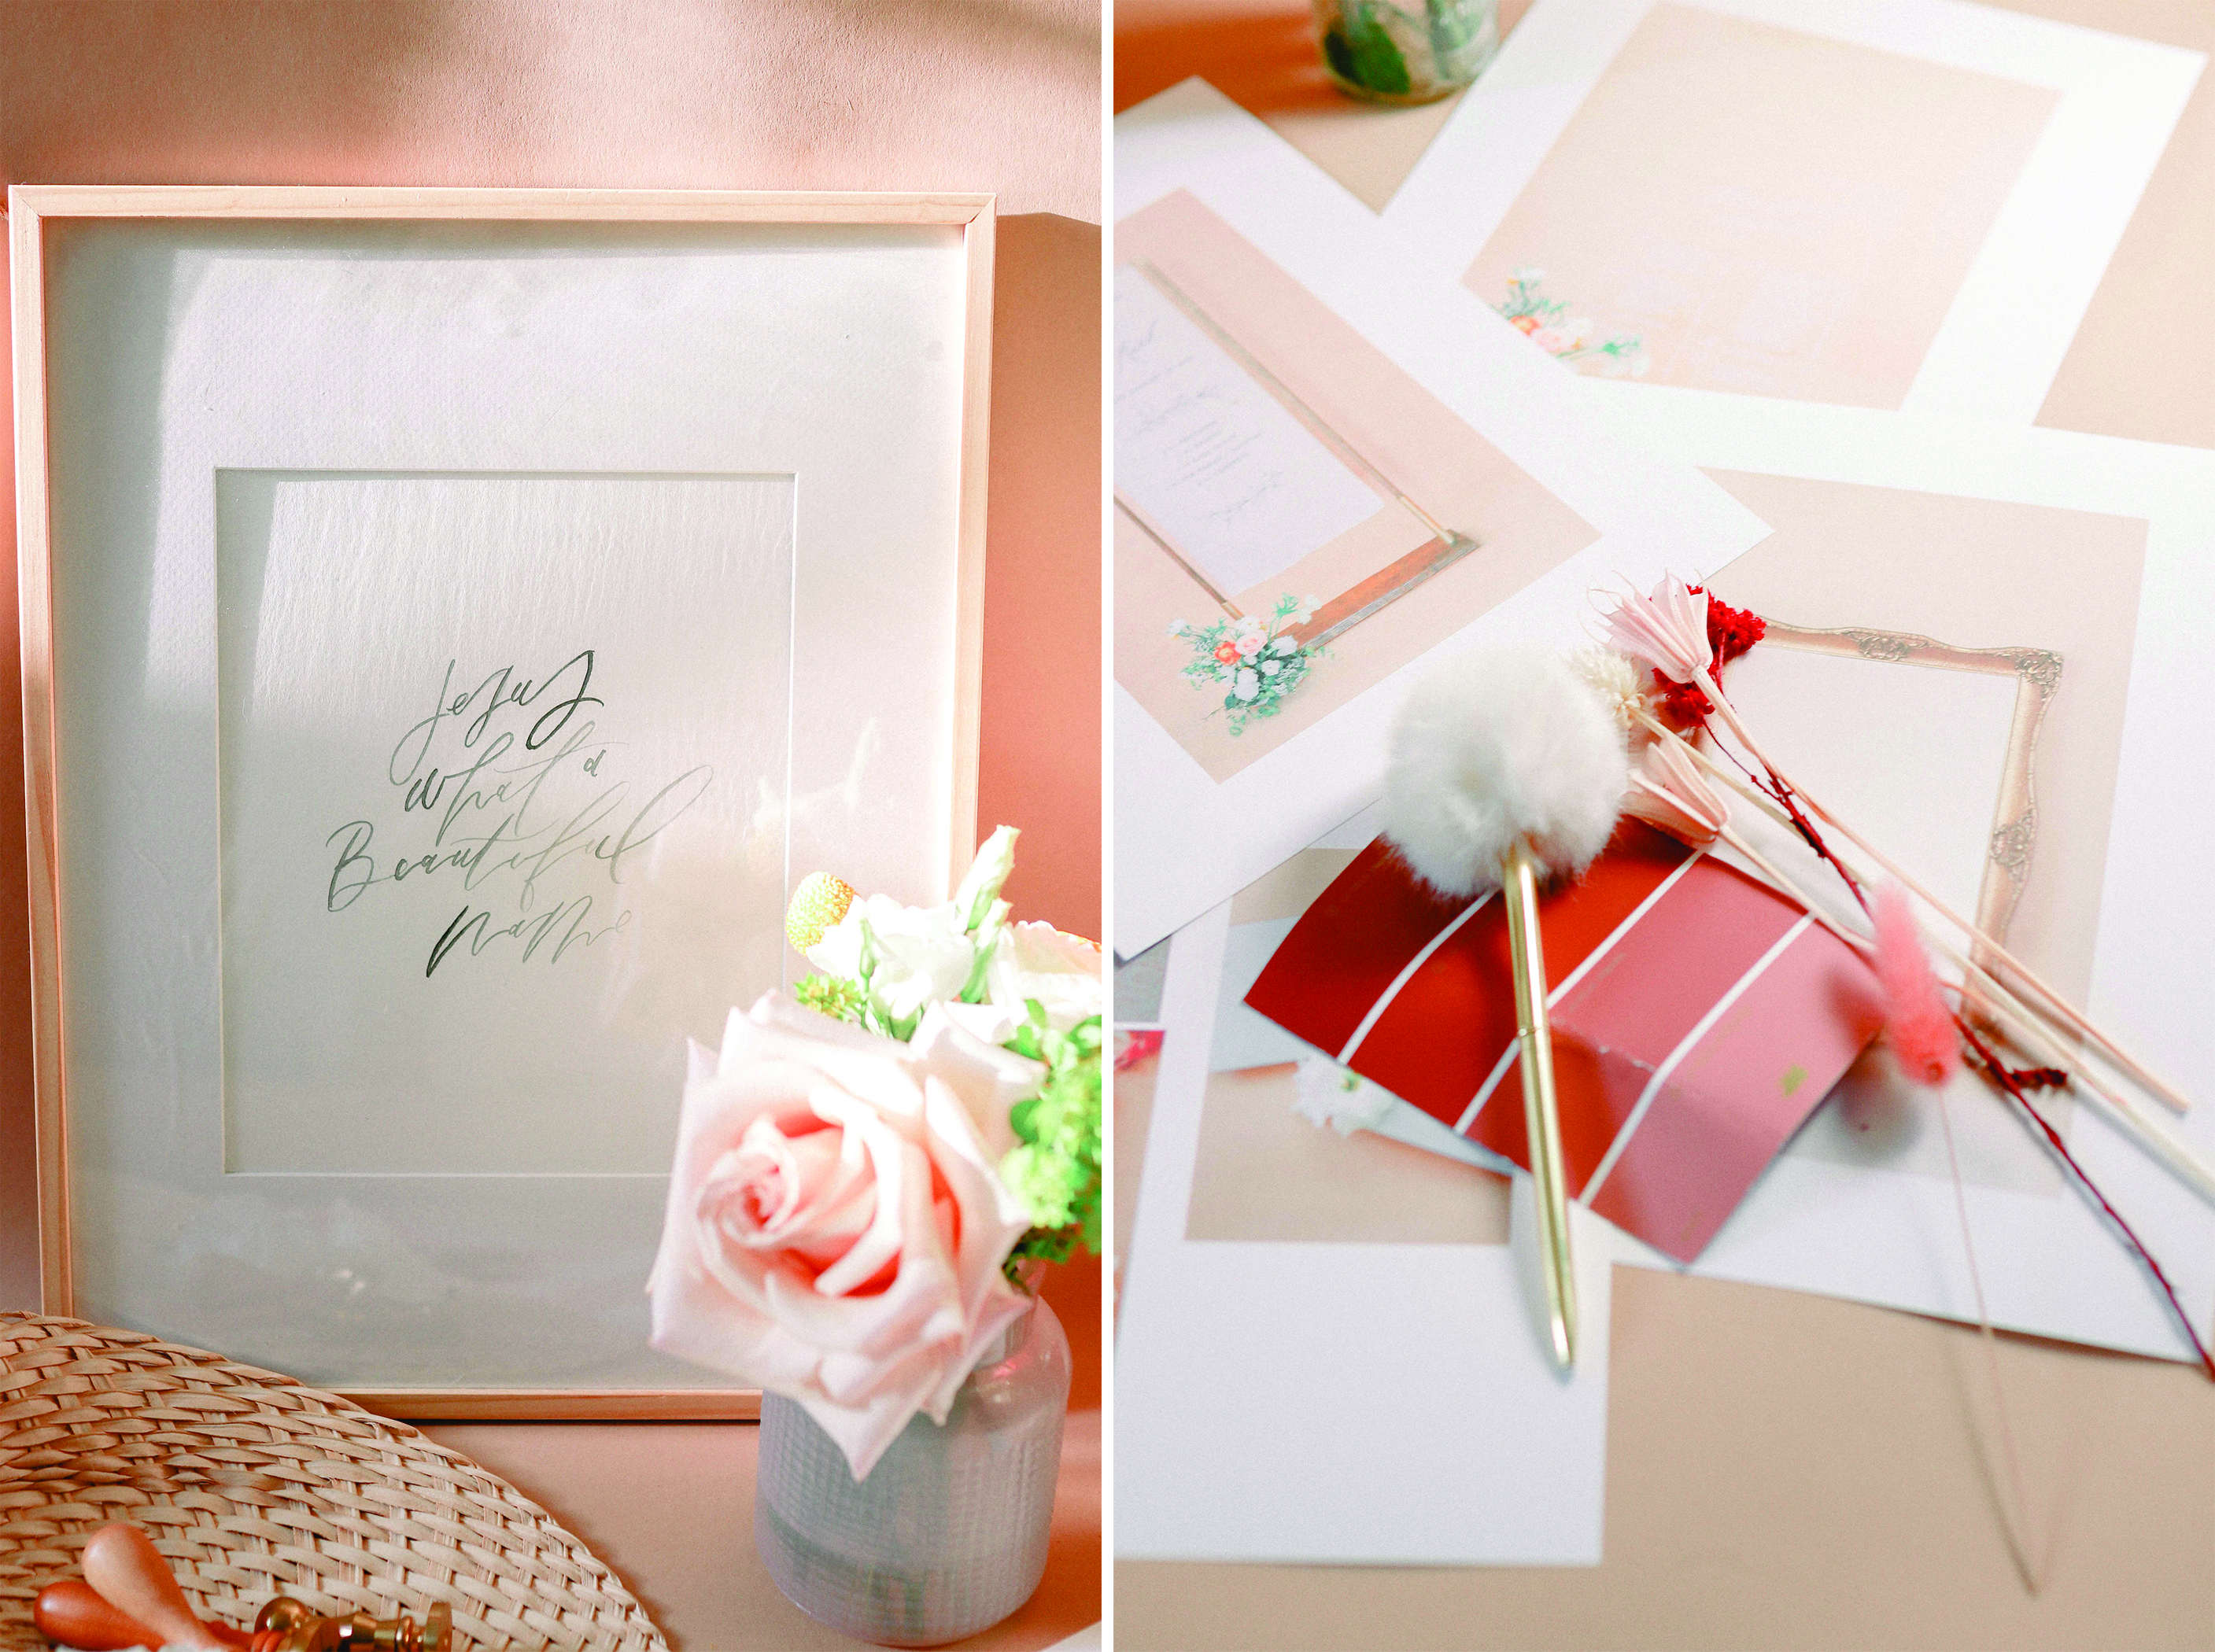
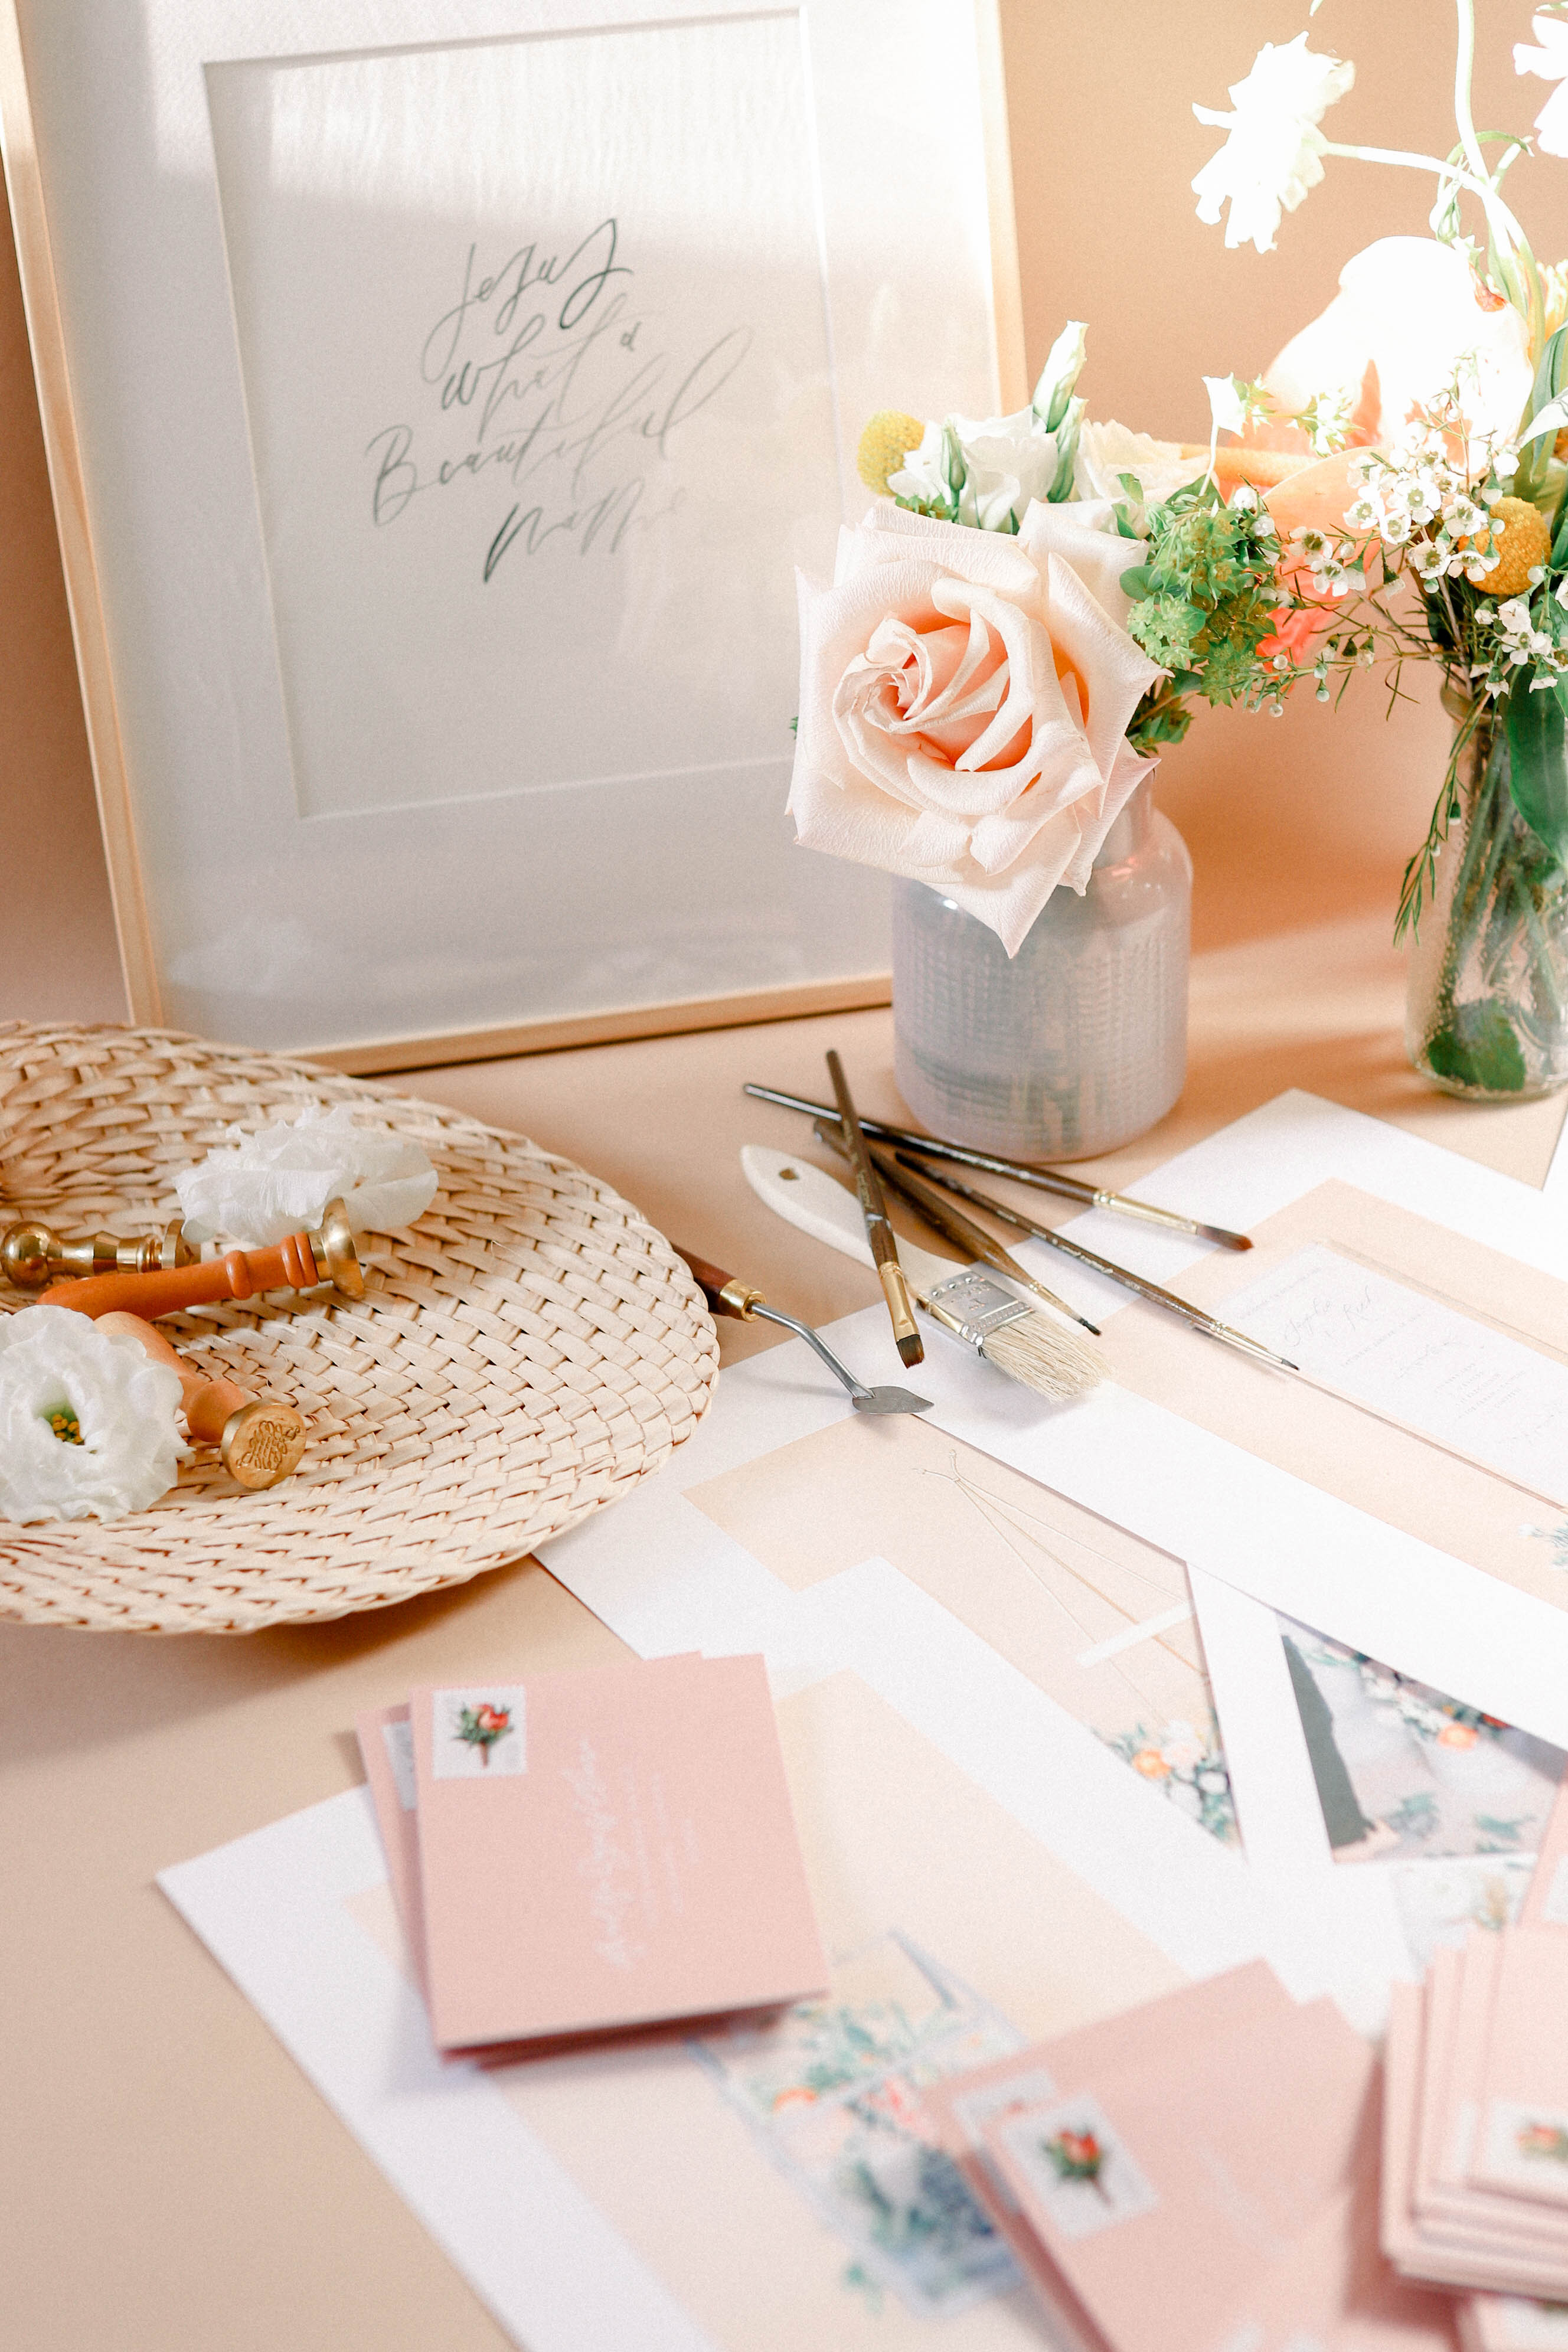
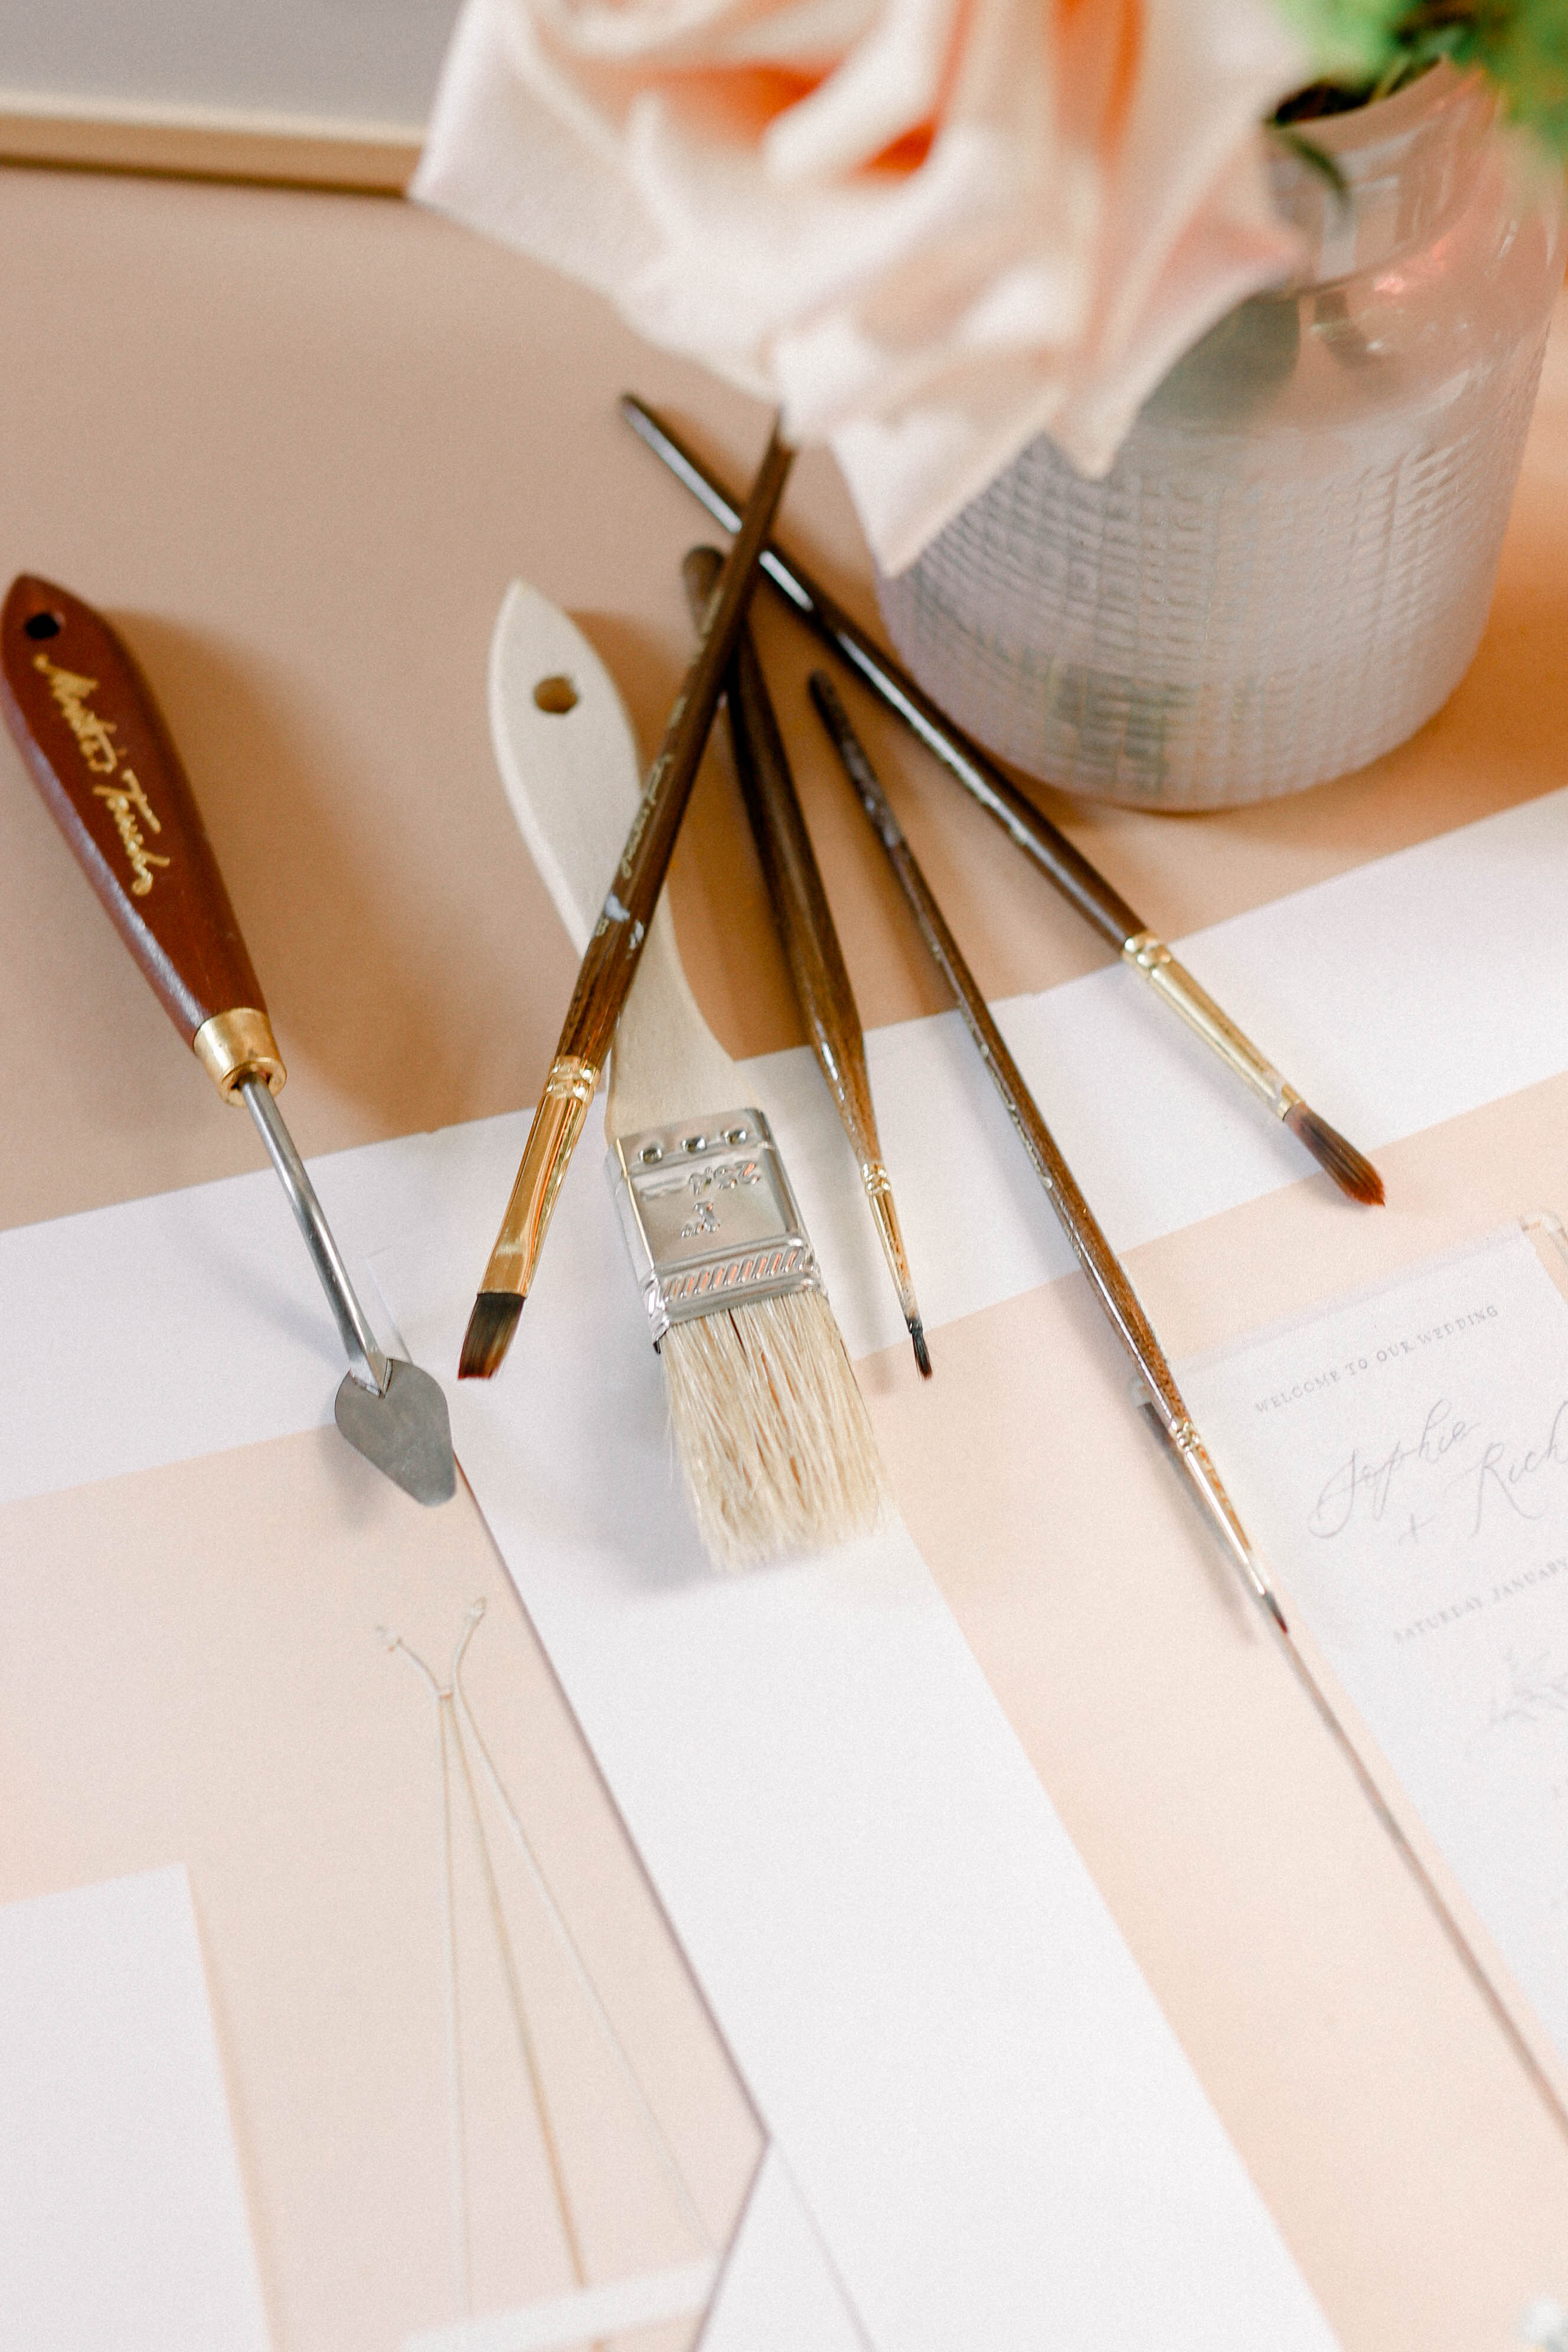
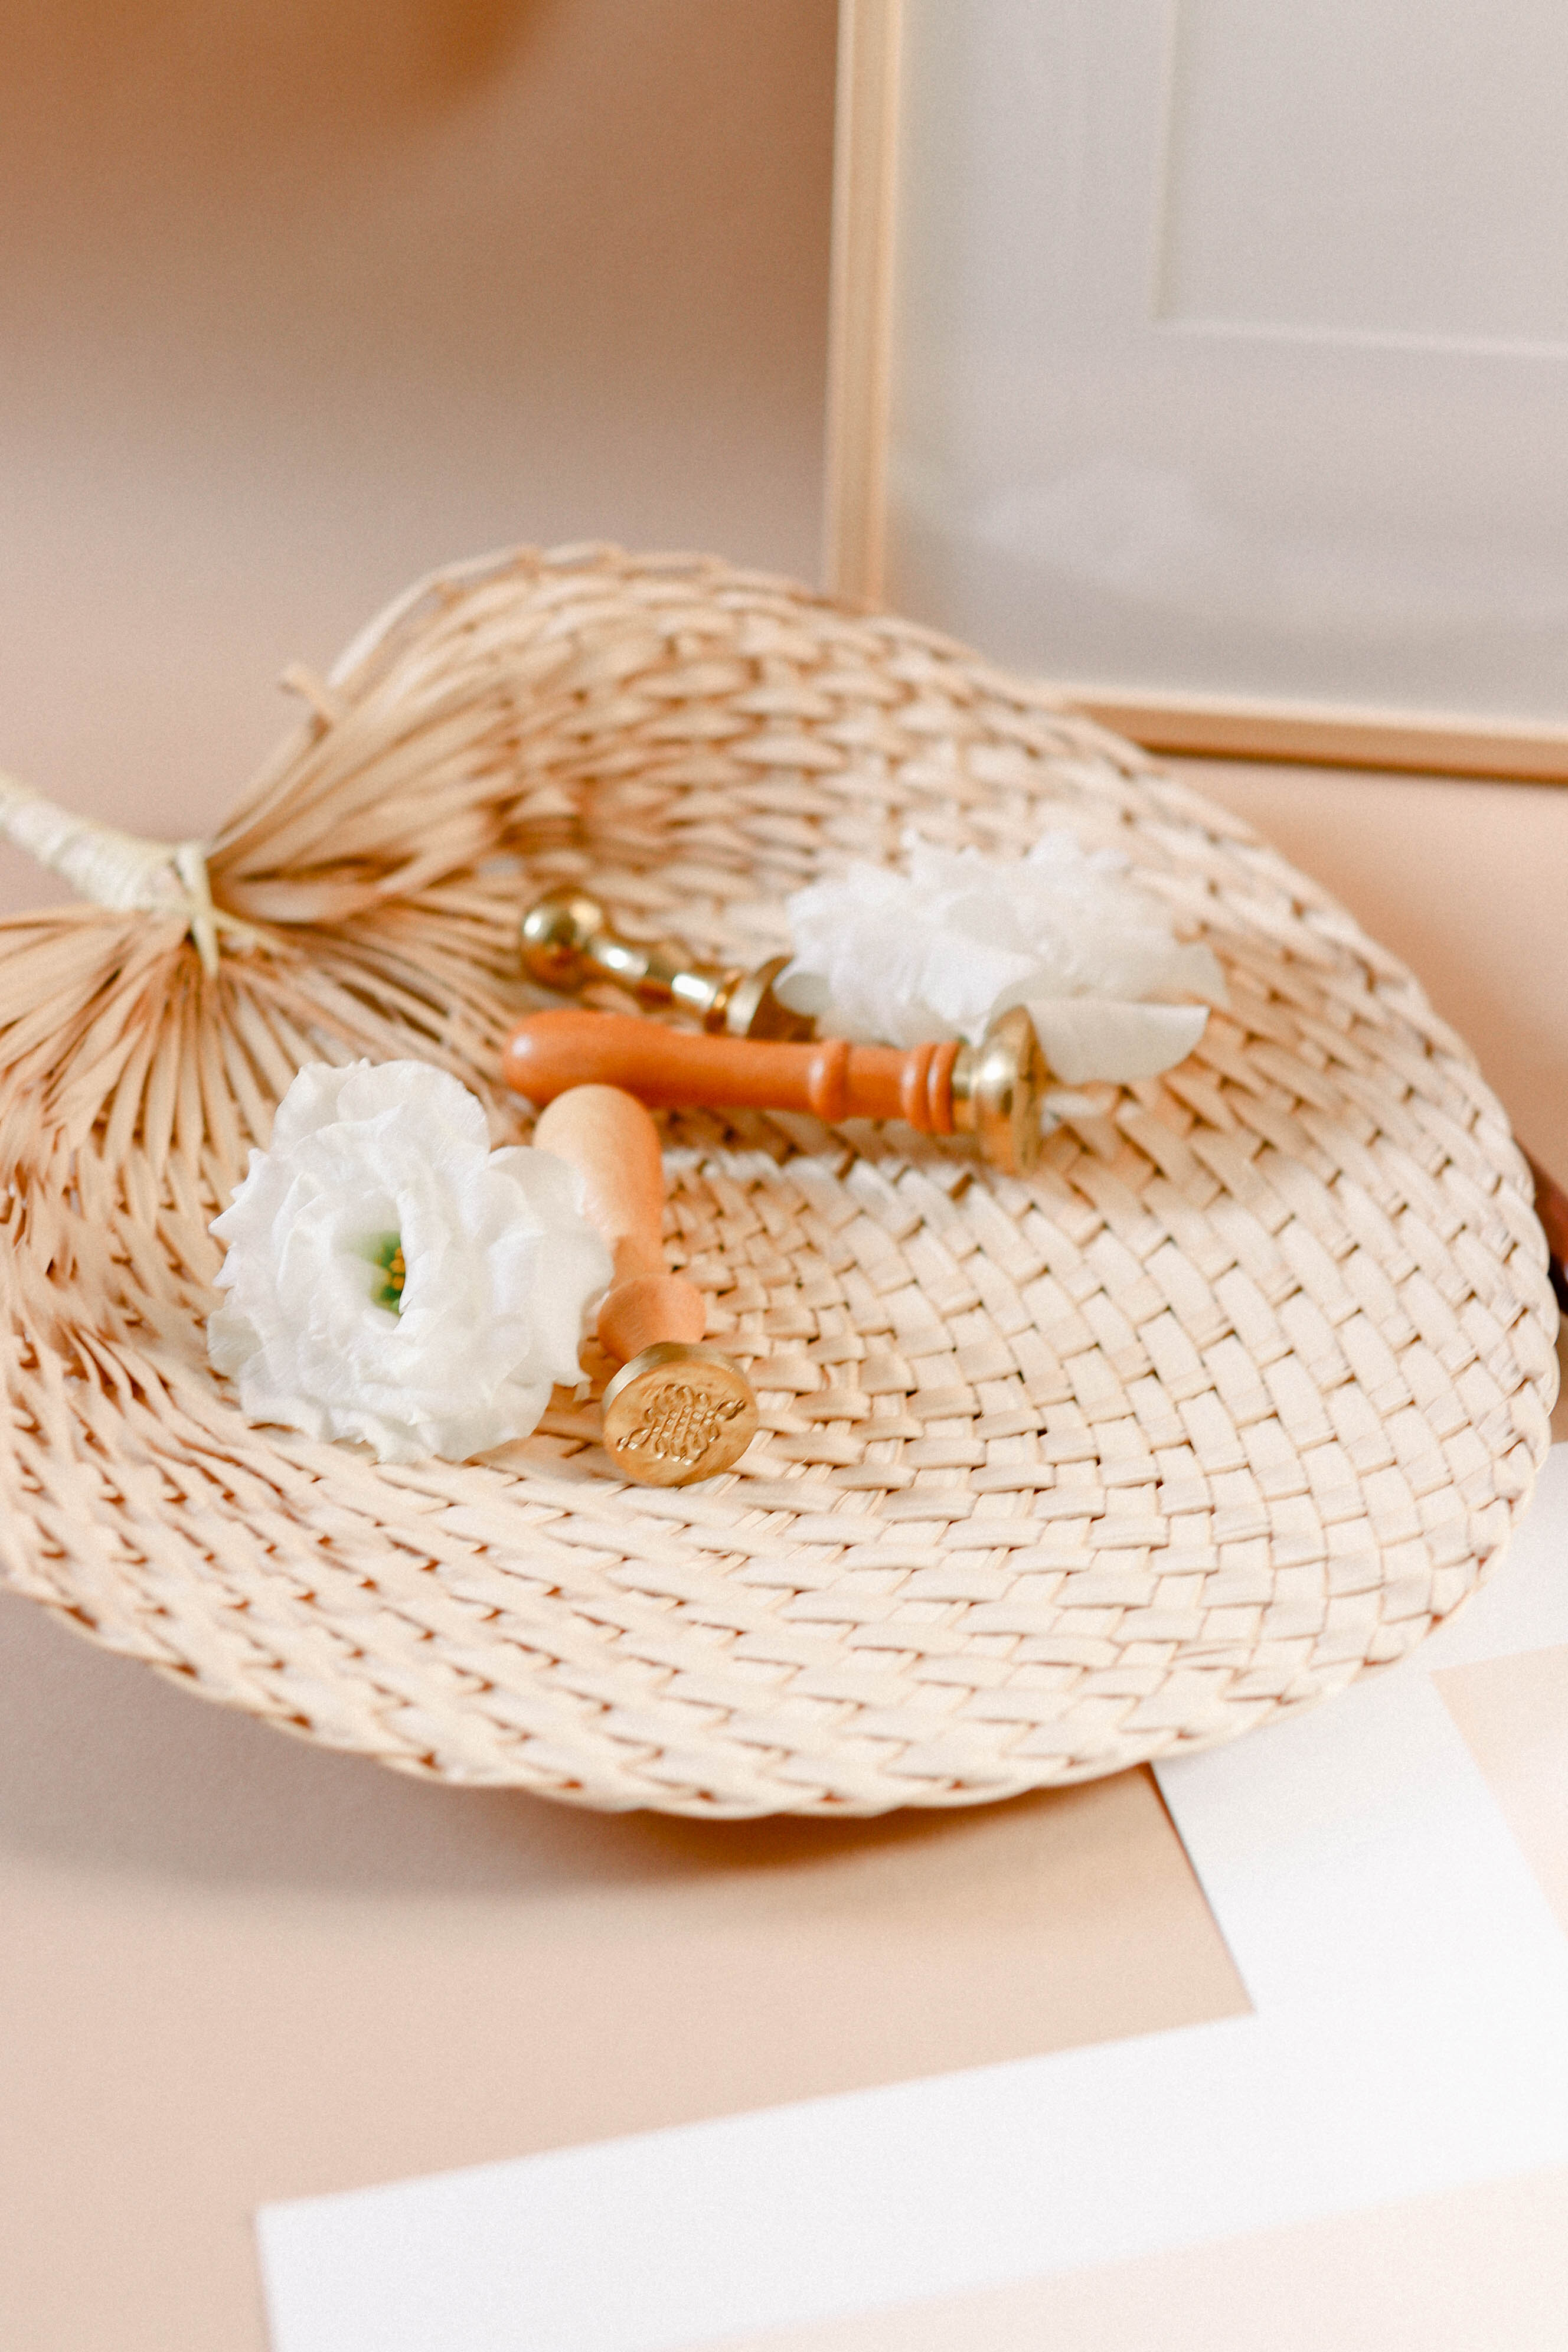
I found a color swatch from home depot I had laying around in my car, some old art in a frame to give me a “wall” paintbrushes and a wick fan from the Target dollar section. Keep in mind the color scheme you use – the more cohesive, the better. Of course, stay true to your own brands look. I wouldn’t use dark colors because thats not me, maybe you wouldn’t use pinks 🙂 Also don’t be afraid to shoot straight on, and not so “flat” 🙂 ( go outside the flat lay)
Lighting
Everyone… THIS IS THE KEY! I tend to either shoot late morning because of the way the sun hits our studio pretty even around that time, or late afternoon like in all these photos. The back window creates pretty shadows, but be careful sometimes it can be pretty harsh. I like to keep things light and airy. Sometimes we use a light reflector if its getting pretty dark, you don’t need a fancy one! Also, you need to get pretty creative with how you hold it, luckily my husband is usually here with me for an extra pair of hands, but for this one..I had to grow a third arm.
Camera we use : Canon 80D
Lens we use: 50mm 1.2 L series | 35mm sigma art
Hope this helps! Comment down below on what else you’d like to see 🙂
Andi
p.s. stella loves to step on it and the paper doesn’t get dirty easily!

Leave a Reply
You must be logged in to post a comment.


GIRLLLL!! This is GOLD! Thanks for all these tips and tricks!